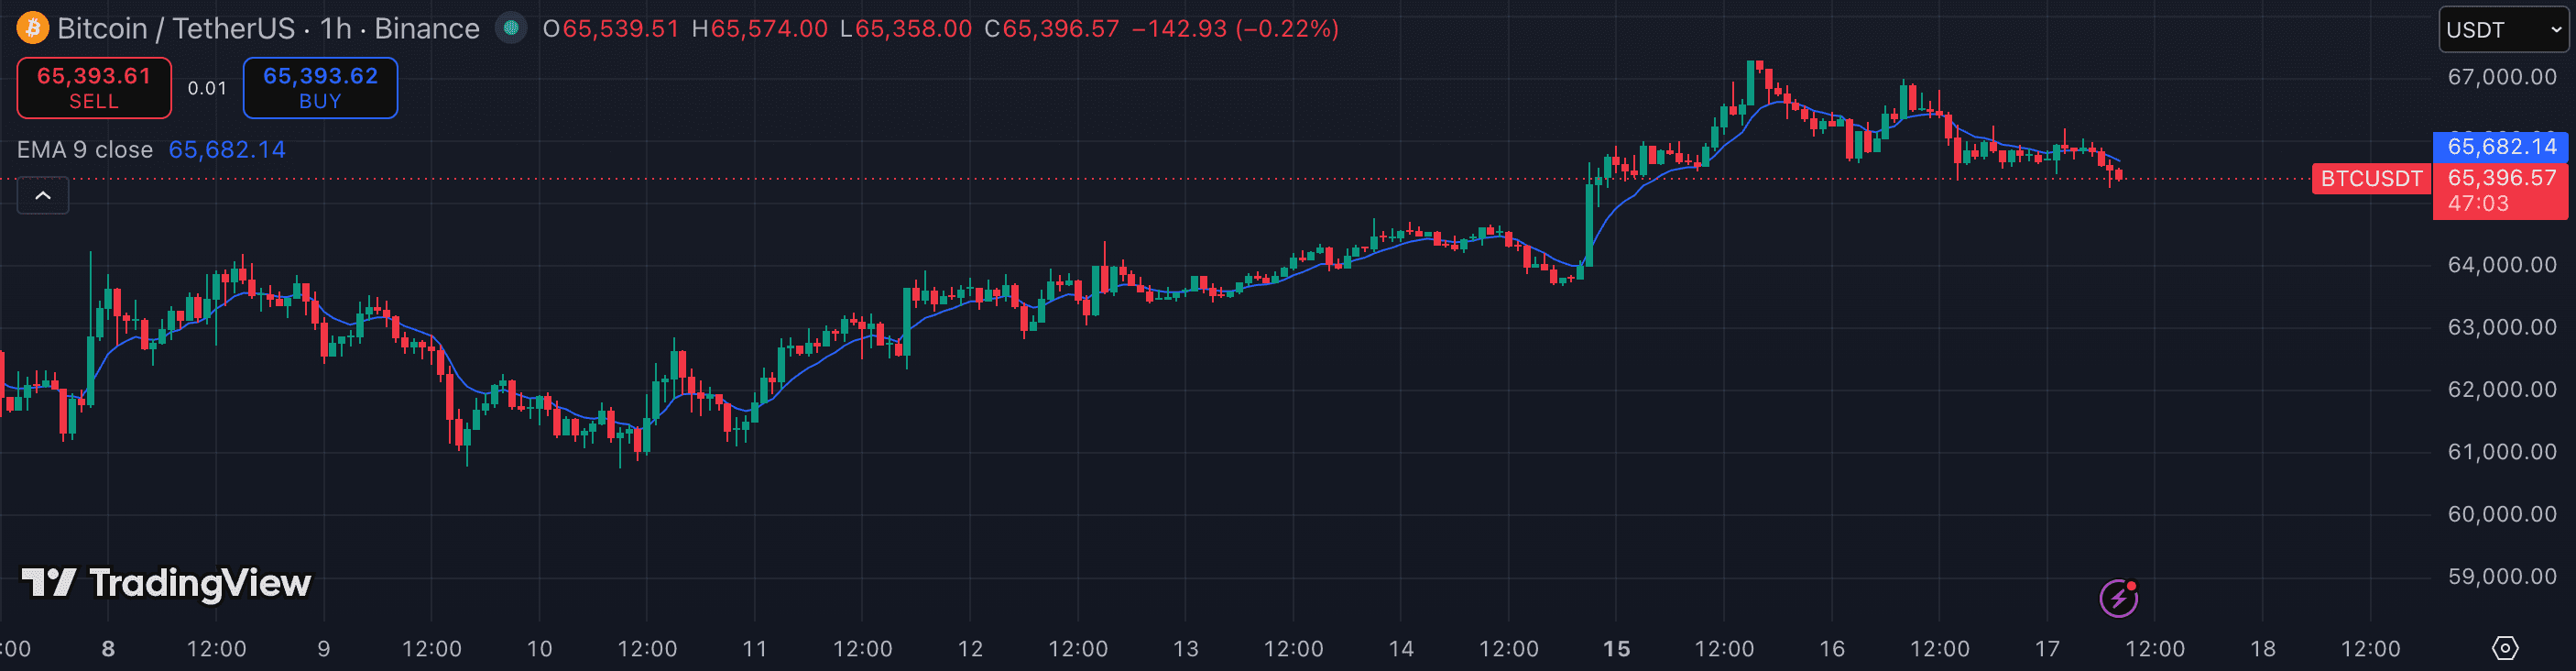
A Moving Average smooths price into a single line so you can read trend direction without the bar-to-bar noise. The SMA weights every bar equally; the EMA weights recent bars more heavily and turns faster. In crypto, traders almost universally prefer the EMA because moves are fast and SMA lag gets you in after the bulk of the move. The trap is treating MA crosses as entries — they're late by design. Here's how to use moving averages as the bias filter they're built to be.
1. Pick one moving average and understand what it tells you
Start with a single EMA — 21 or 50 periods is where most crypto traders begin. The number matters less than the habit of reading it consistently. When price is above the EMA and the EMA is rising, the trend is up. Below and falling, it's down. That's the whole directional read.
Avoid immediately stacking four MAs. One EMA used consistently teaches you how price relates to its own recent average; four MAs just tell you they crossed each other again.
2. Use the EMA as a dynamic support/resistance level, not a signal
In a trending market, pullbacks to the EMA are buyable — they represent price returning to its own average before the trend resumes. A 21 EMA on 1h gives you the intraday pullback level; a 50 EMA on 4h is the medium-term support zone traders watch on BTC and ETH.
The key is patience: wait for price to reach the EMA, then look for a reaction candle (wick rejection, pin bar, engulf) rather than buying just because price is 'near' the line. Without the reaction signal, the pullback can turn into a break through.
3. Use two EMAs for a cross filter — but know the limits
Stacking a fast EMA (e.g. 21) and a slow EMA (e.g. 55 or 200) gives you a cross system: fast crossing above slow is bullish; fast crossing below is bearish. The 21/55 cross on 4h is a common crypto trend filter. The 50/200 'golden cross' and 'death cross' are widely watched on daily BTC charts.
The problem: crosses are late. They confirm a trend that's already underway, often after a meaningful portion of the move has run. Use the cross to set your bias, then wait for a pullback entry rather than chasing the cross candle itself.
4. Know when to ignore moving averages entirely
In a sideways, ranging market, moving averages are noise: price chops back and forth across the line, producing crosses in both directions with no follow-through. A flat, horizontal EMA is a signal to switch to a range-based tool (Bollinger Bands, RSI, support/resistance) and put the MA away until a trend re-establishes.
A simple rule: if the EMA is nearly flat and price has crossed it three or more times in the last 20 bars, the market is ranging. Don't trade MA signals in that environment.
5. Pair with a momentum read for entry timing
A moving average tells you direction; it says nothing about when to enter within that direction. Combine it with RSI (is the pullback to the EMA happening as RSI reaches 40–50, setting up a momentum reload?) or MACD (is the histogram still positive as price pulls back to the EMA, suggesting the trend is intact?) for a structured entry.
The stack: higher-timeframe EMA for direction → price pulls back to the EMA → momentum indicator confirms the pullback isn't a reversal → entry on the reaction candle.
- Trading MA crosses as entries instead of bias-setters — the cross already happened, and the best part of the move is often done.
- Using three or four overlapping MAs and looking for agreement before trading — by then price has moved past the level you planned to enter at.
- Applying MA signals during flat, sideways markets where the line is horizontal and price chops across it constantly.
- Placing your stop below the MA rather than below a structural low — the MA is a dynamic level that shifts each bar, not a hard support zone.
- Treating SMA and EMA as interchangeable — on fast-moving crypto, the EMA is almost always more relevant for intraday and swing work.